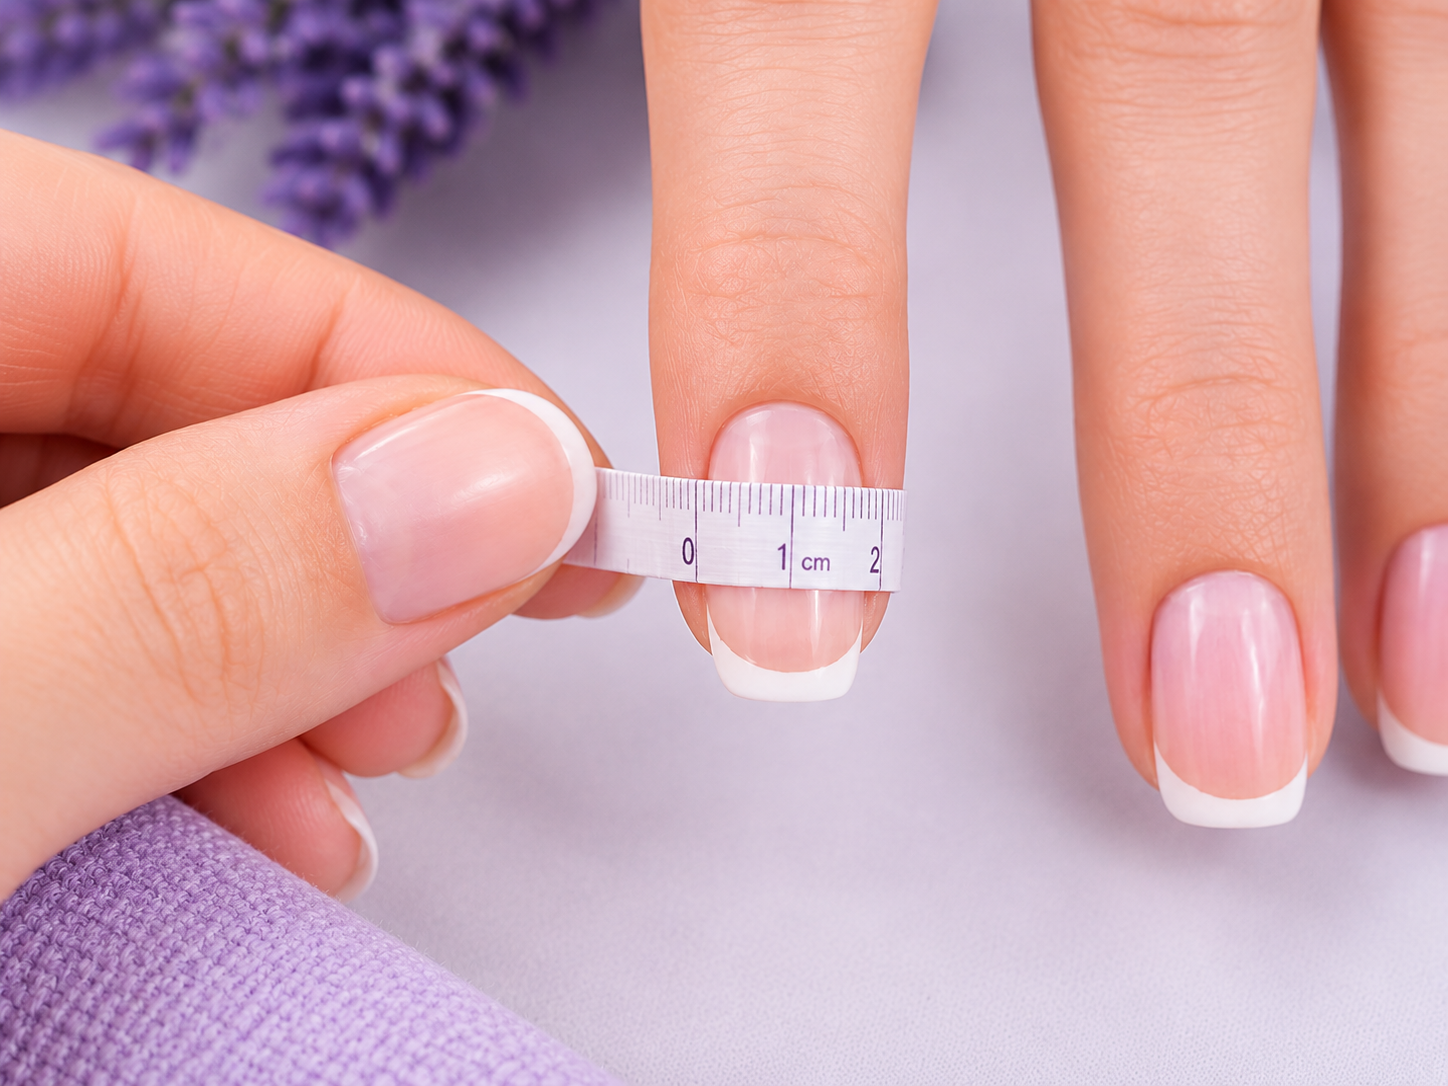
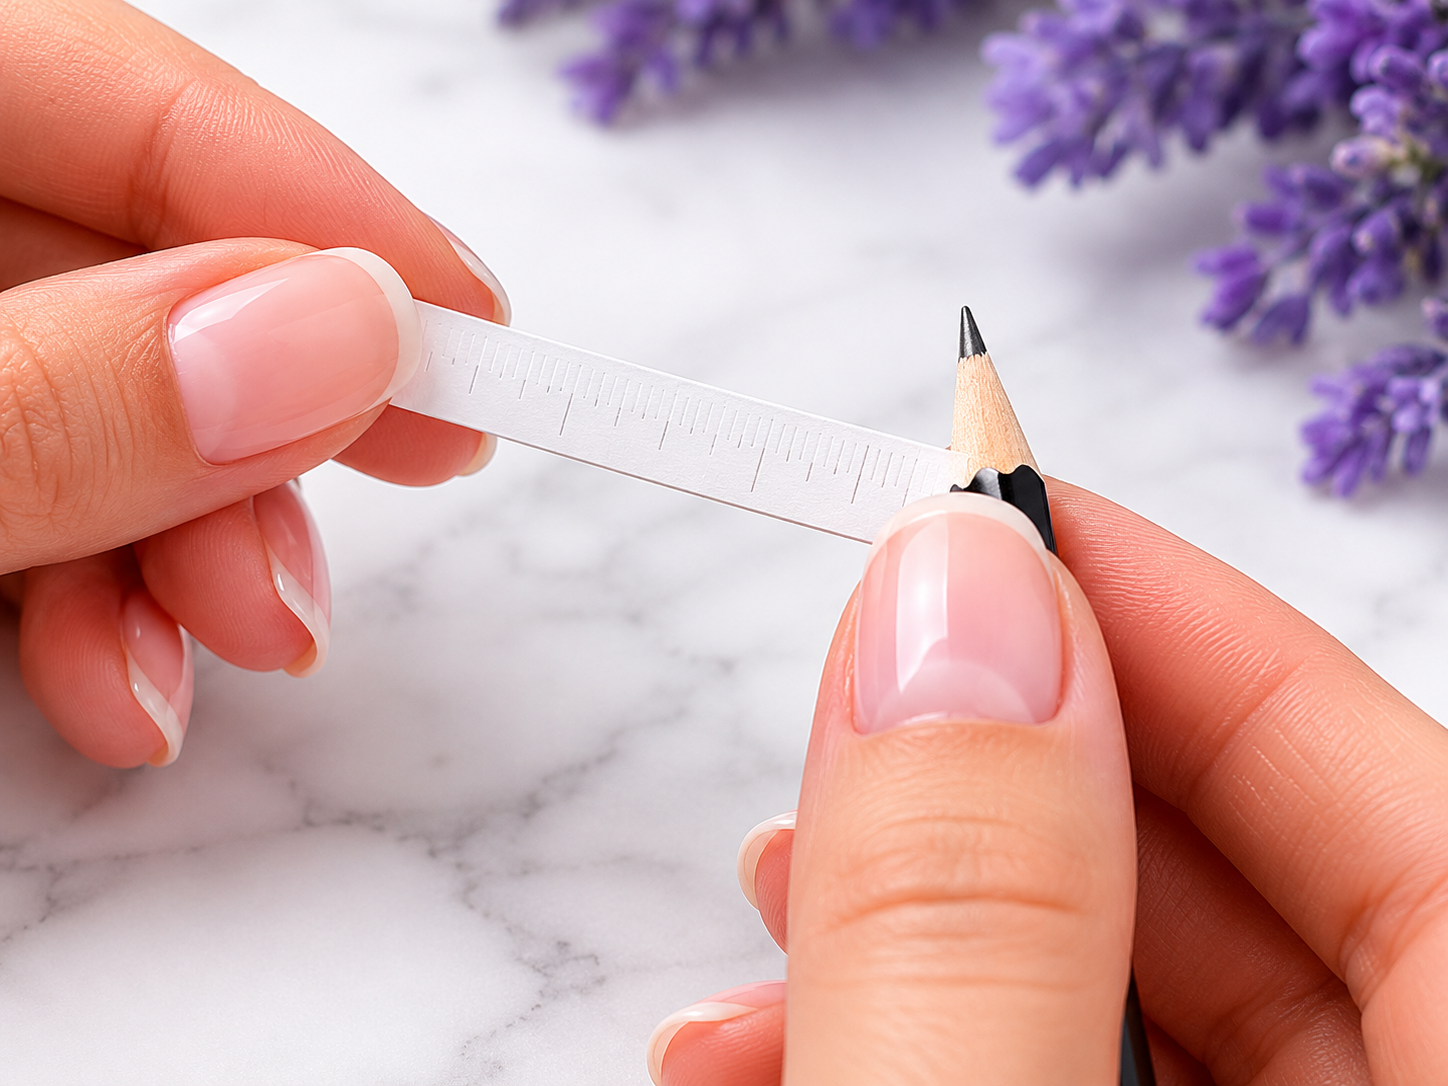
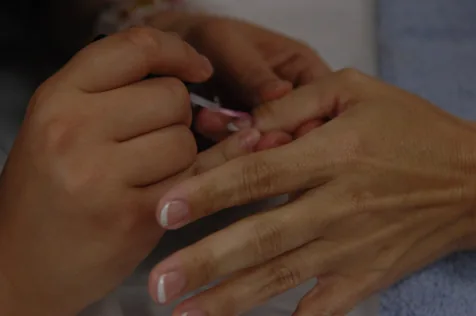
Measure the Widest Part
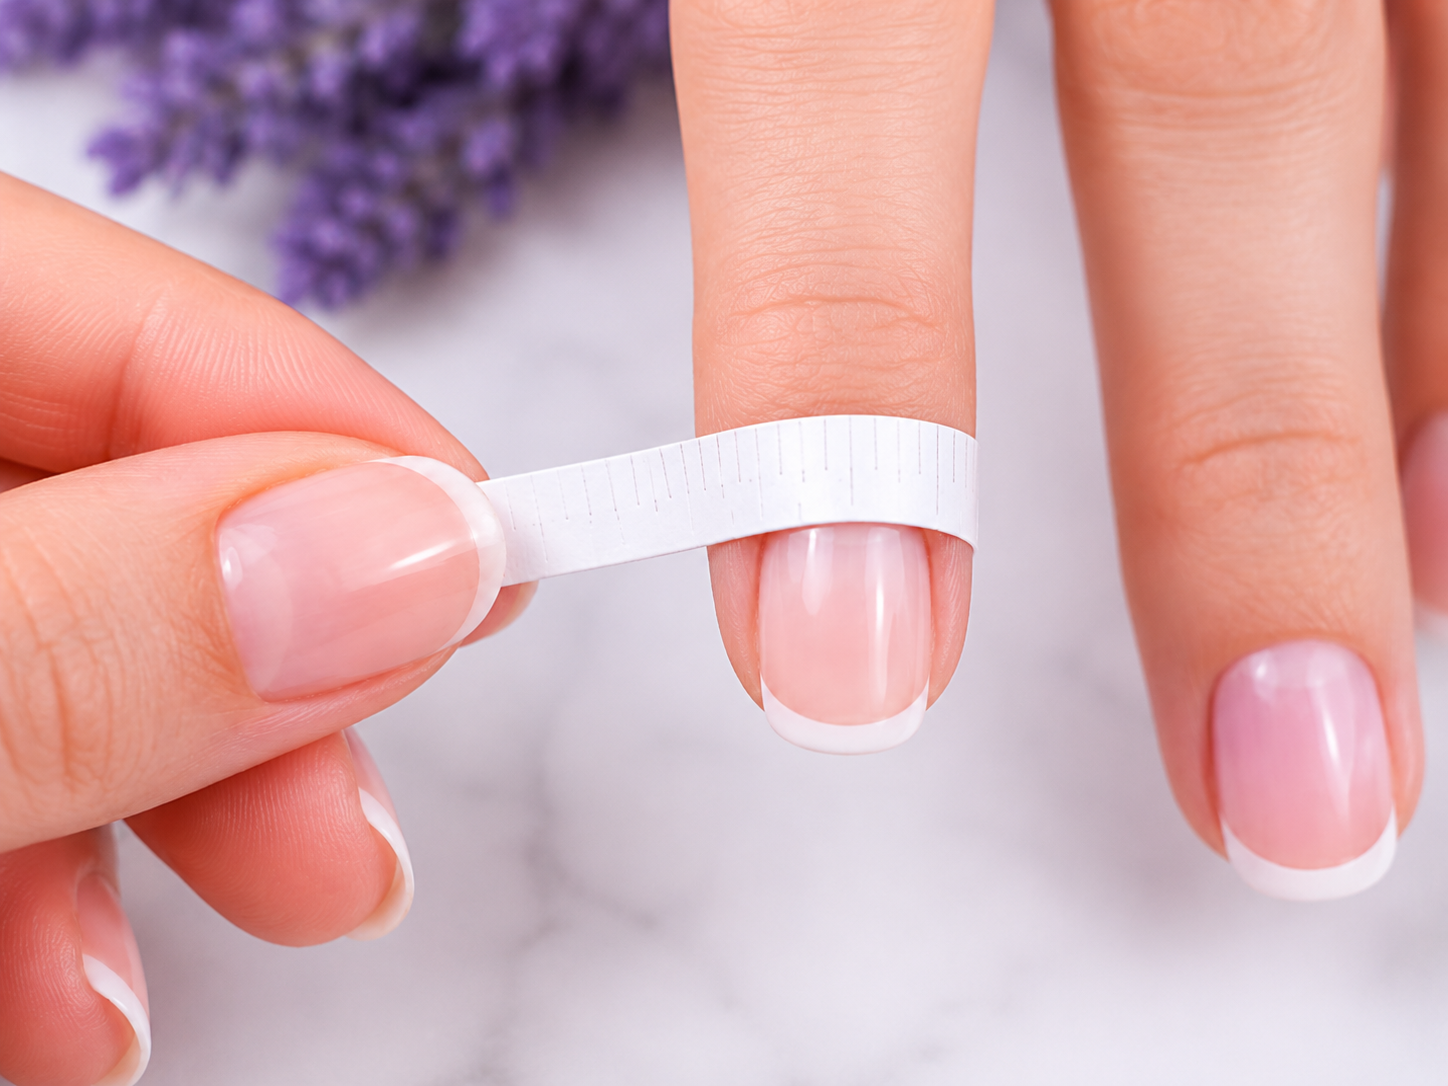
Use a soft measuring tape or a thin strip of paper. Place it over the widest part of your natural nail, following the natural curve of the nail plate. Do not pull it too tightly.
Guide
Everything important before ordering: how to measure your nails, choose a shape, apply the set, remove it safely and care for it.
Sizes
Use a soft measuring tape or a thin strip of paper. Place it over the widest part of your natural nail, following the natural curve of the nail plate. Do not pull it too tightly.
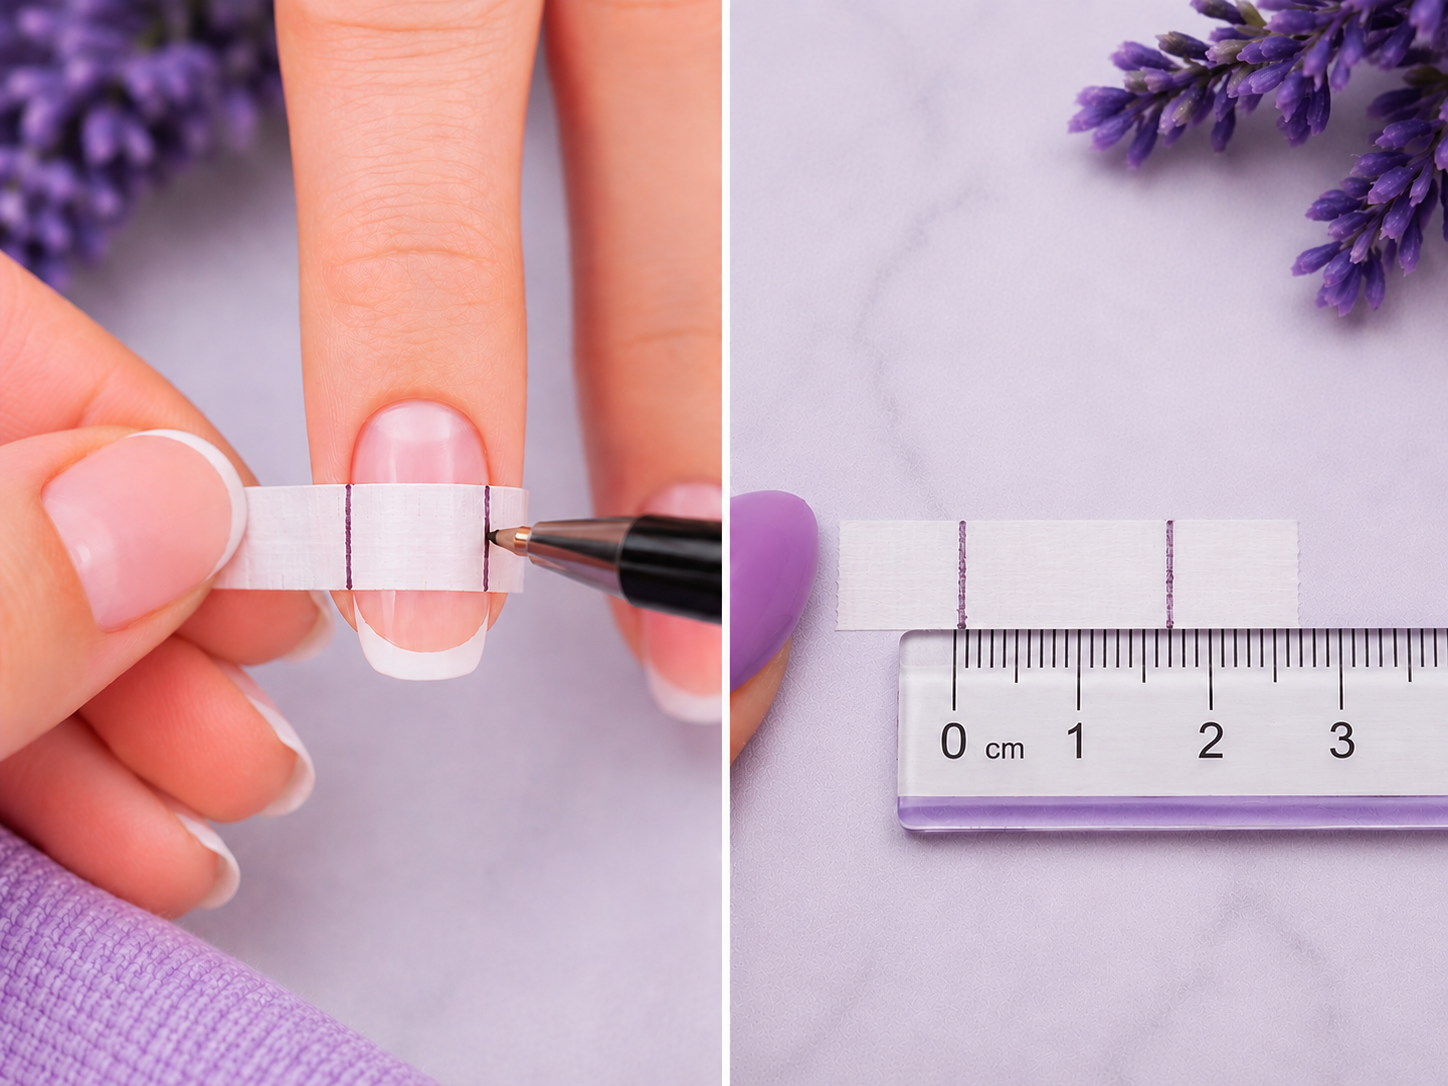
If you are using a paper strip, mark both sides of the nail with a pen and then measure the distance with a ruler. Write the result down in millimeters.
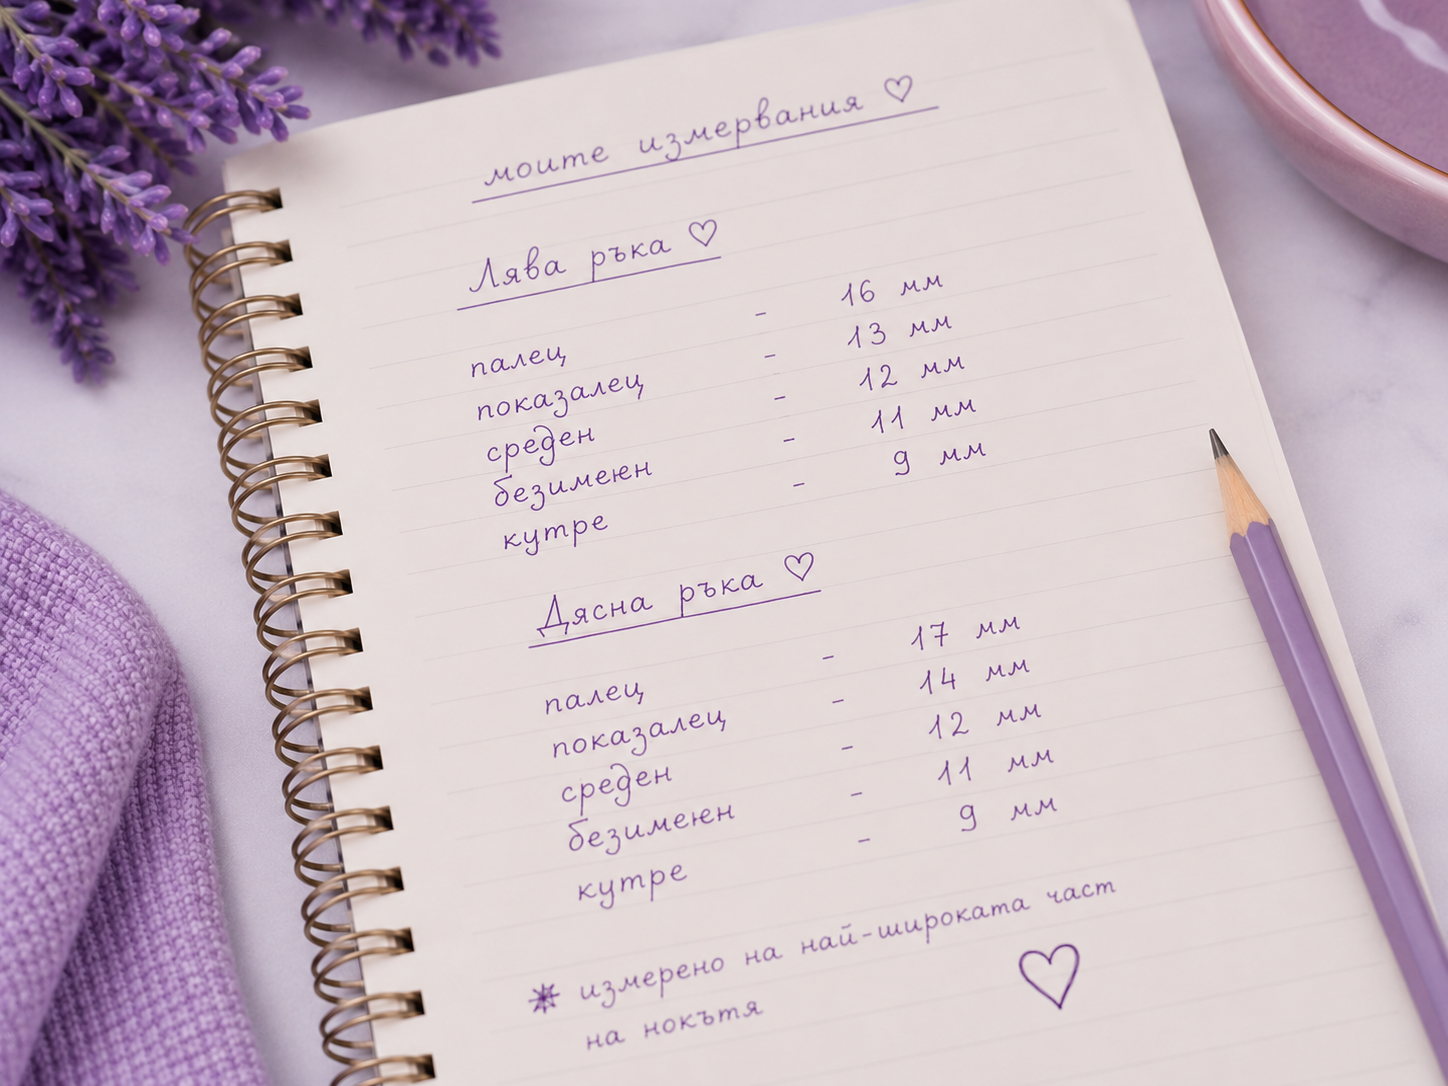
Write down the measurements for your thumb, index finger, middle finger, ring finger and pinky. To be sure, send the measurements for both hands.
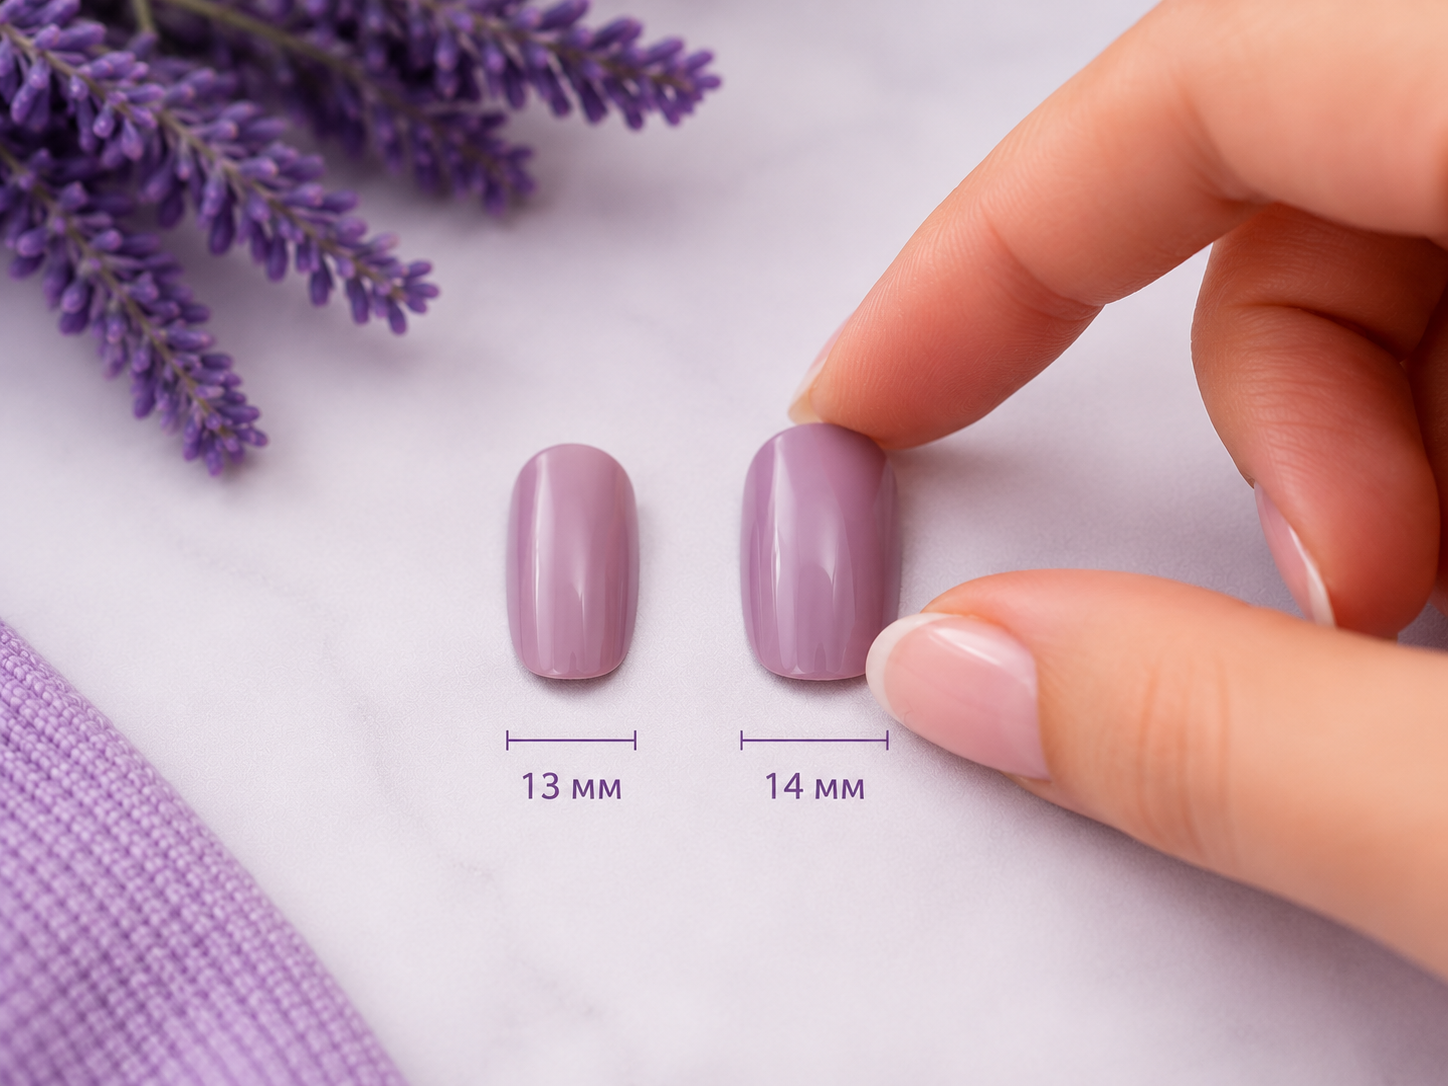
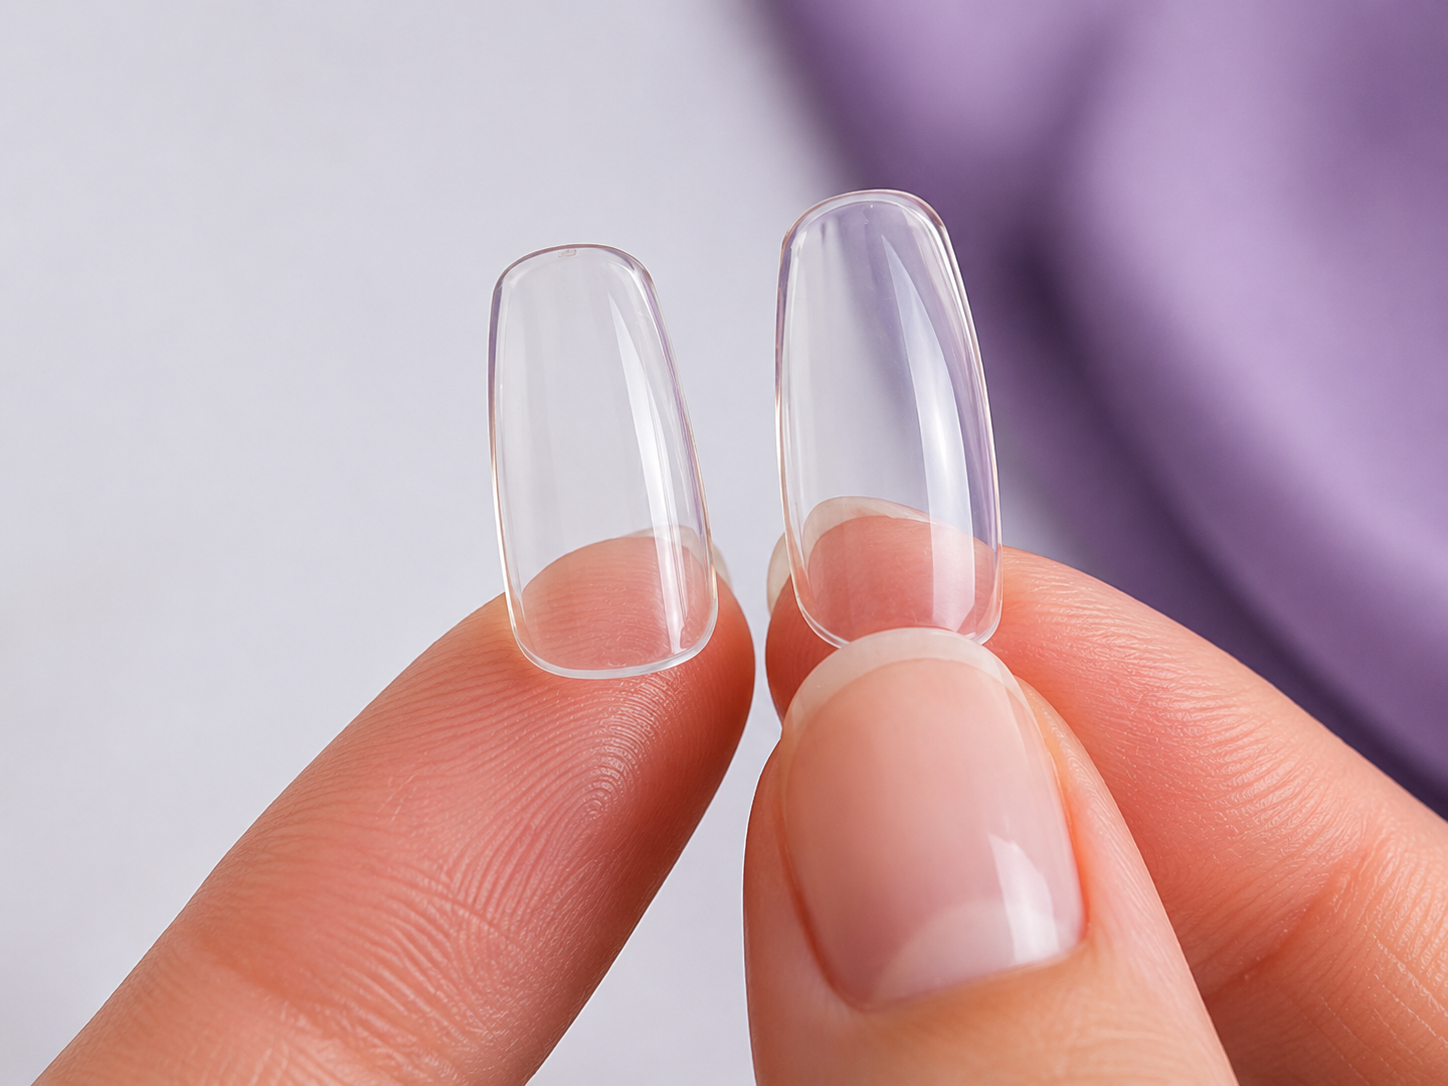
Choose the slightly larger size. A press-on nail can be gently filed on the sides, but if it is too small, it will not cover your natural nail properly.
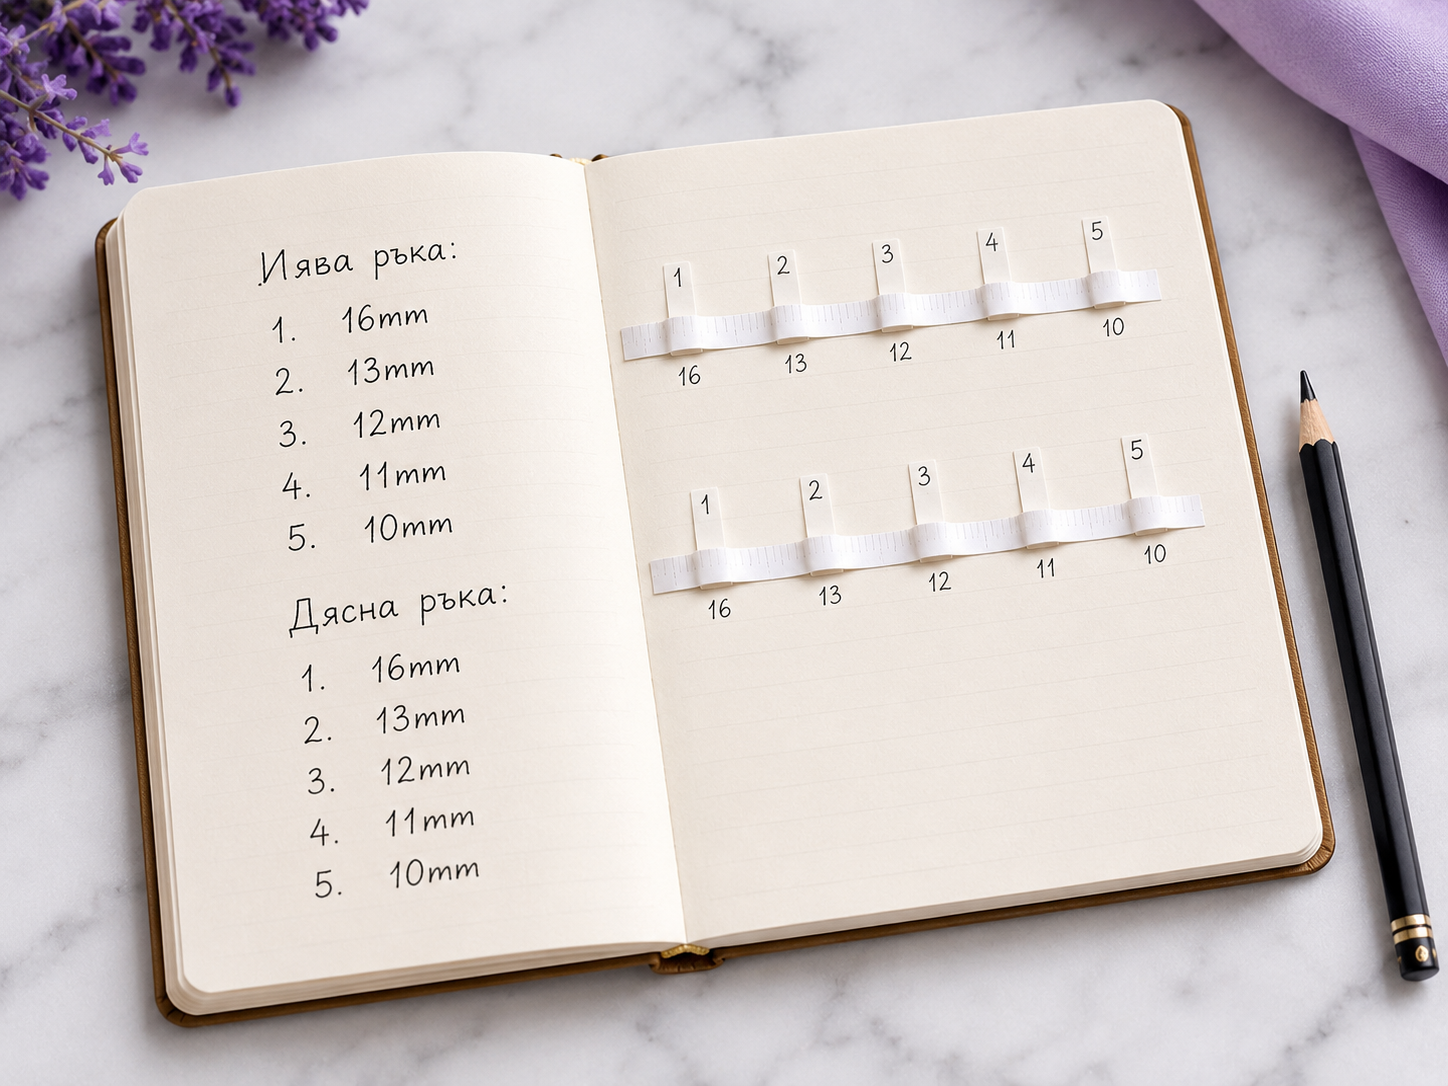
Measure the width of each natural nail in millimeters. If you use paper tape, mark the edges and then measure with a ruler.
The tape should follow the slight curve of the nail plate. Do not pull it too tightly and do not leave a large gap.
Write down thumb, index, middle, ring and pinky for both hands. If the two hands differ, send both size sets.
A press-on nail can be carefully filed at the sides, but a size that is too small will not cover the natural nail well.
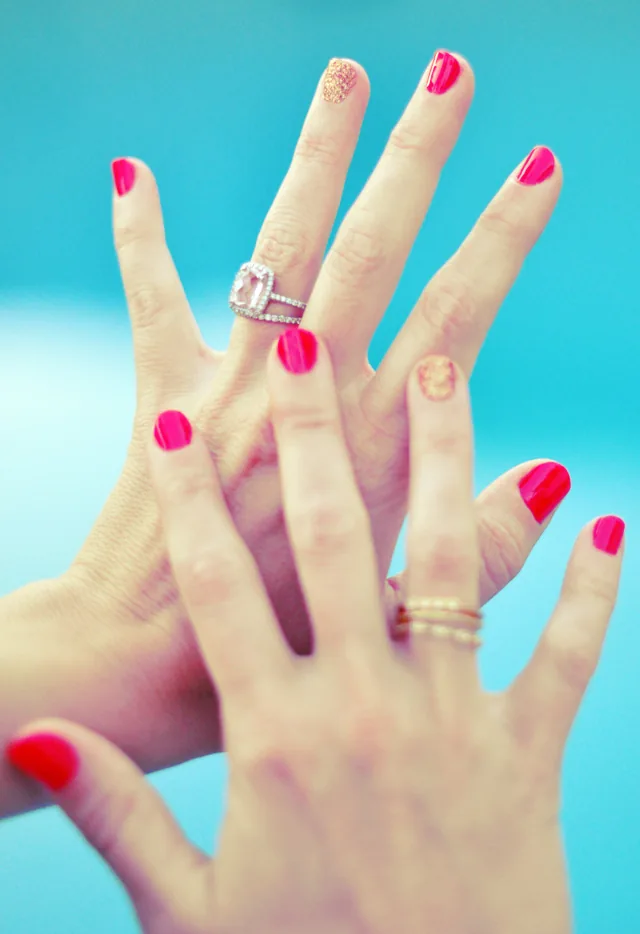
Shapes
The shape changes the whole feel of the set. If you are not sure, describe your daily routine in the request and we will clarify the best option.
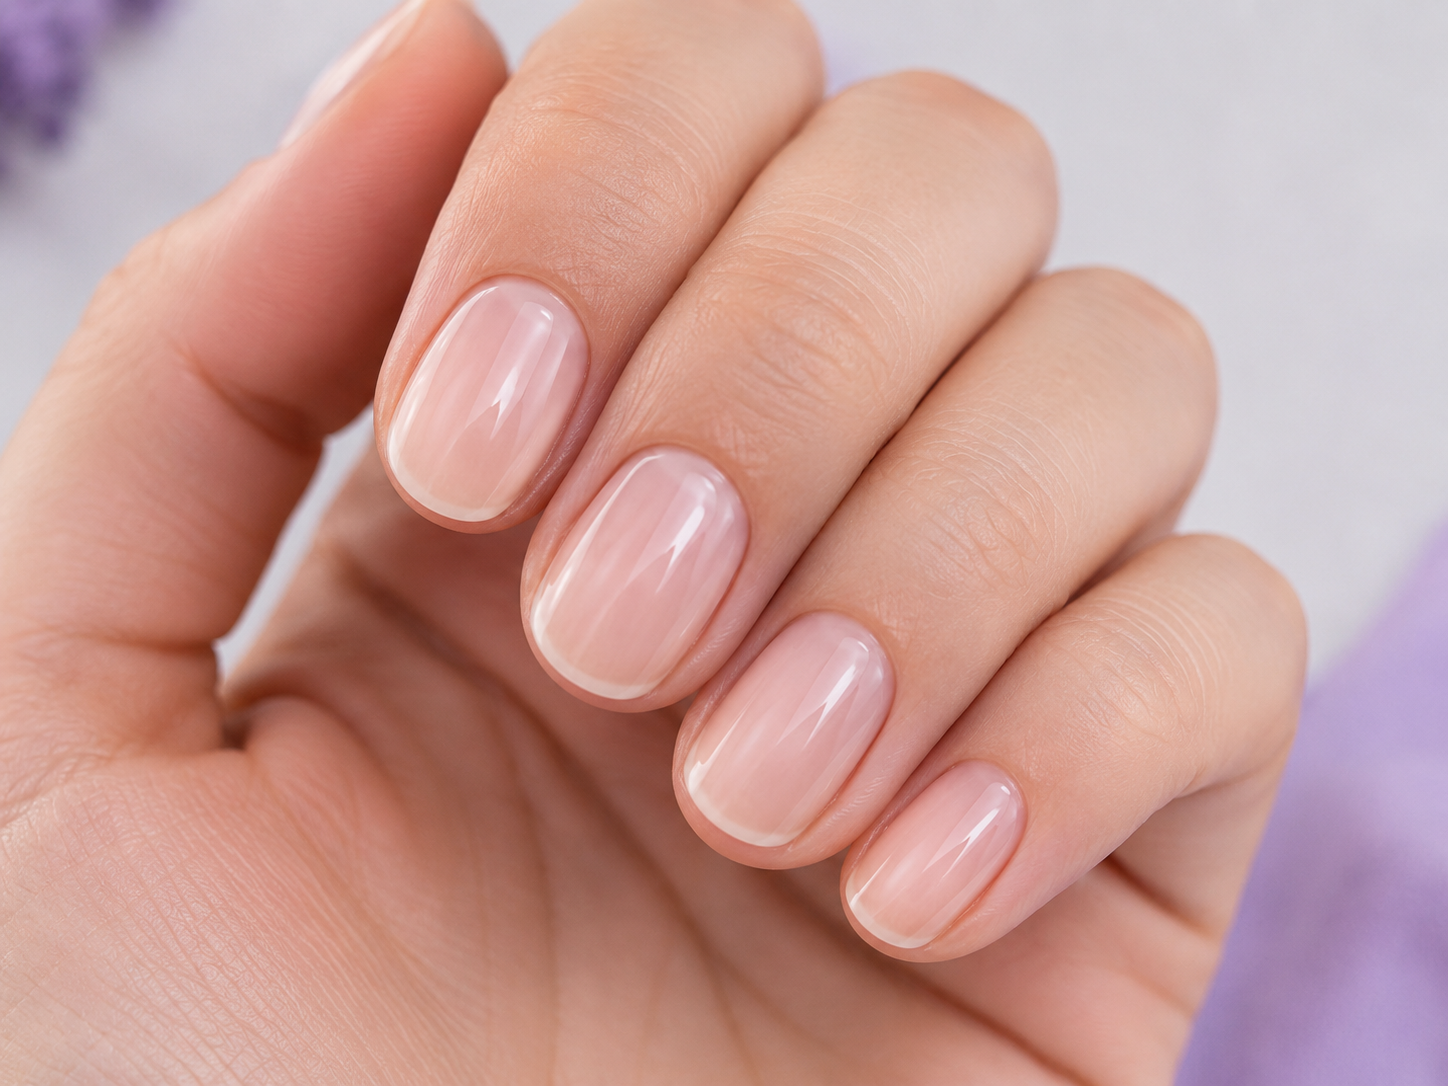
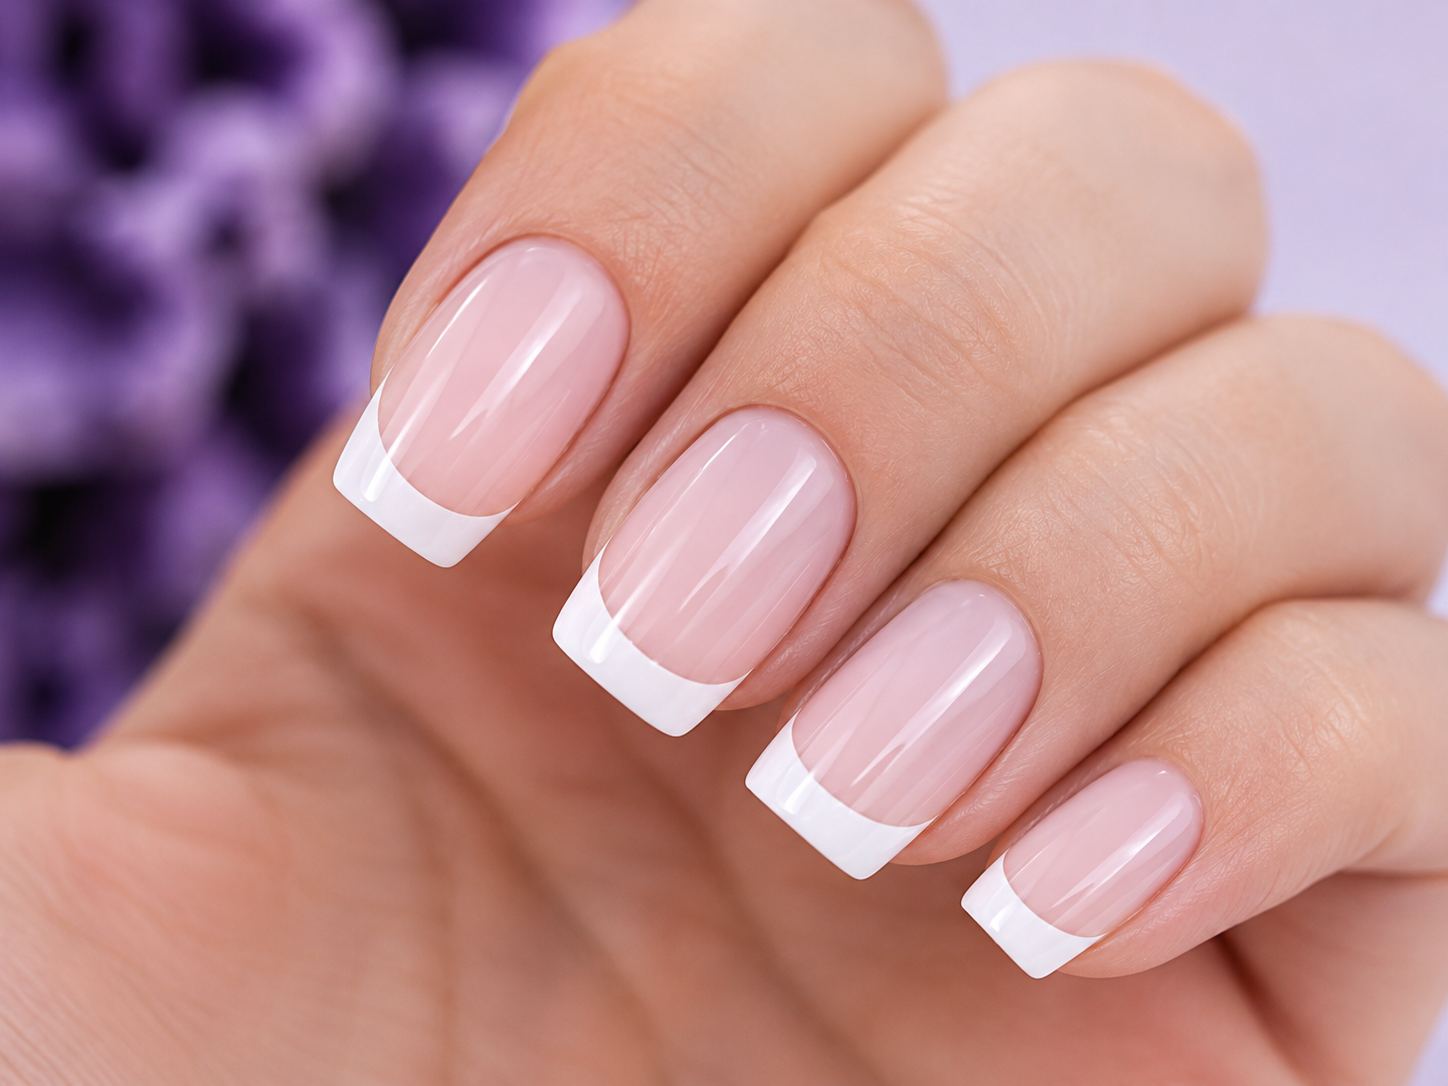
A practical length for everyday wear, work and a first press-on set.
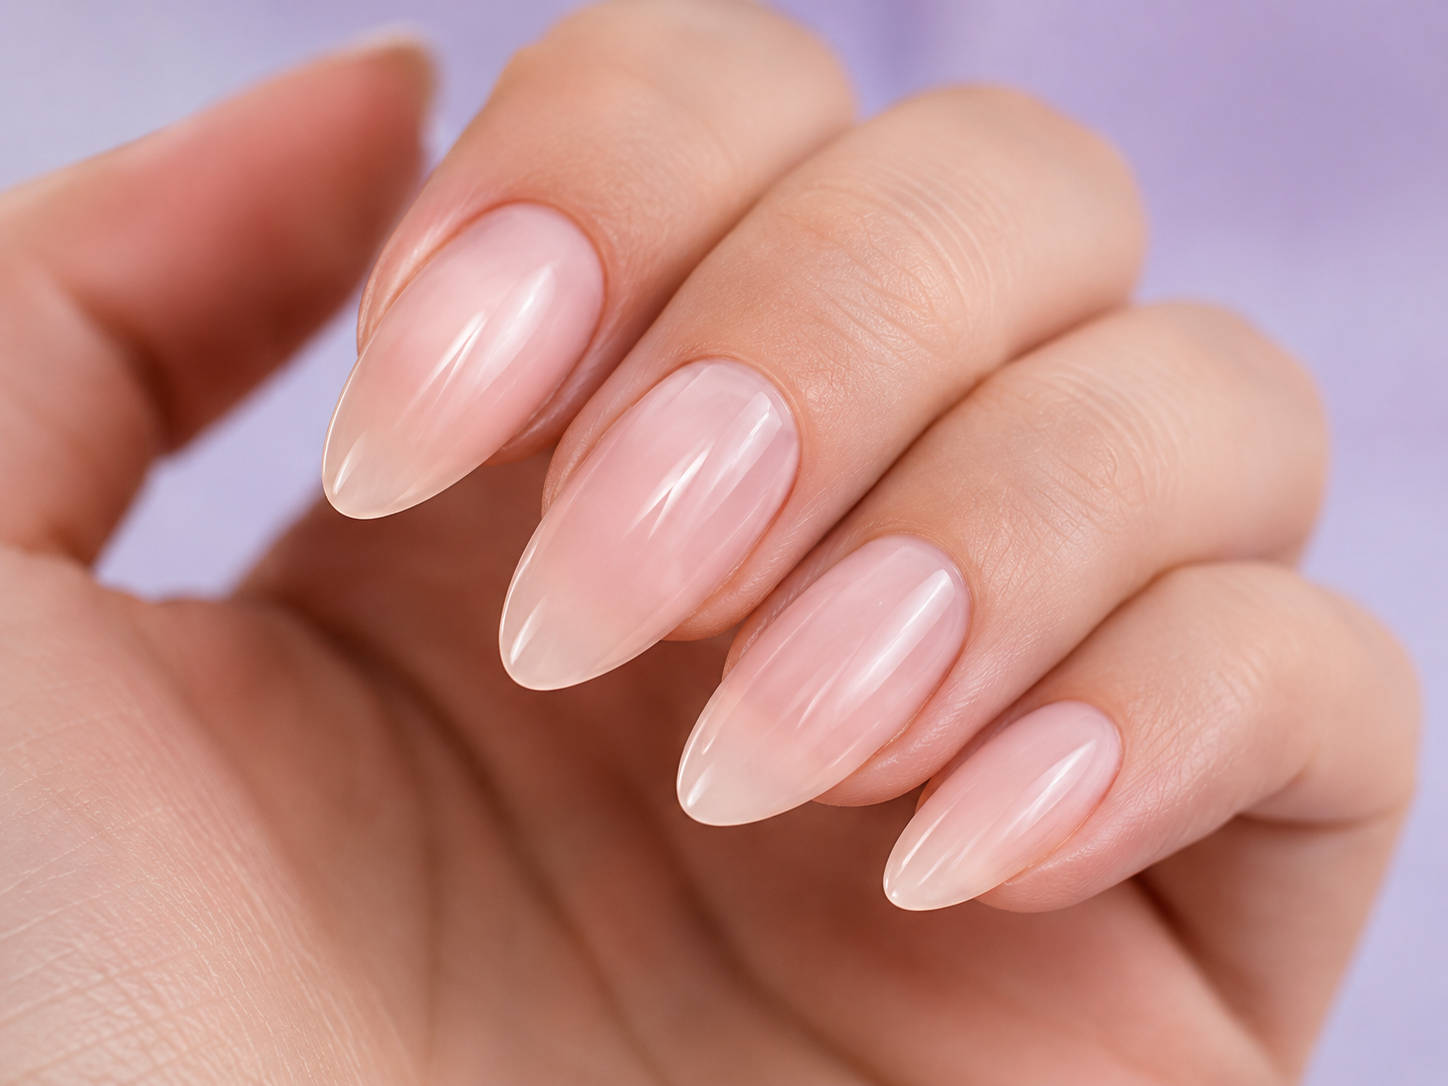
A more elongated and feminine shape. Looks elegant with most designs.
Measure the width of each natural nail in millimeters. If you use paper tape, mark the edges and then measure with a ruler.
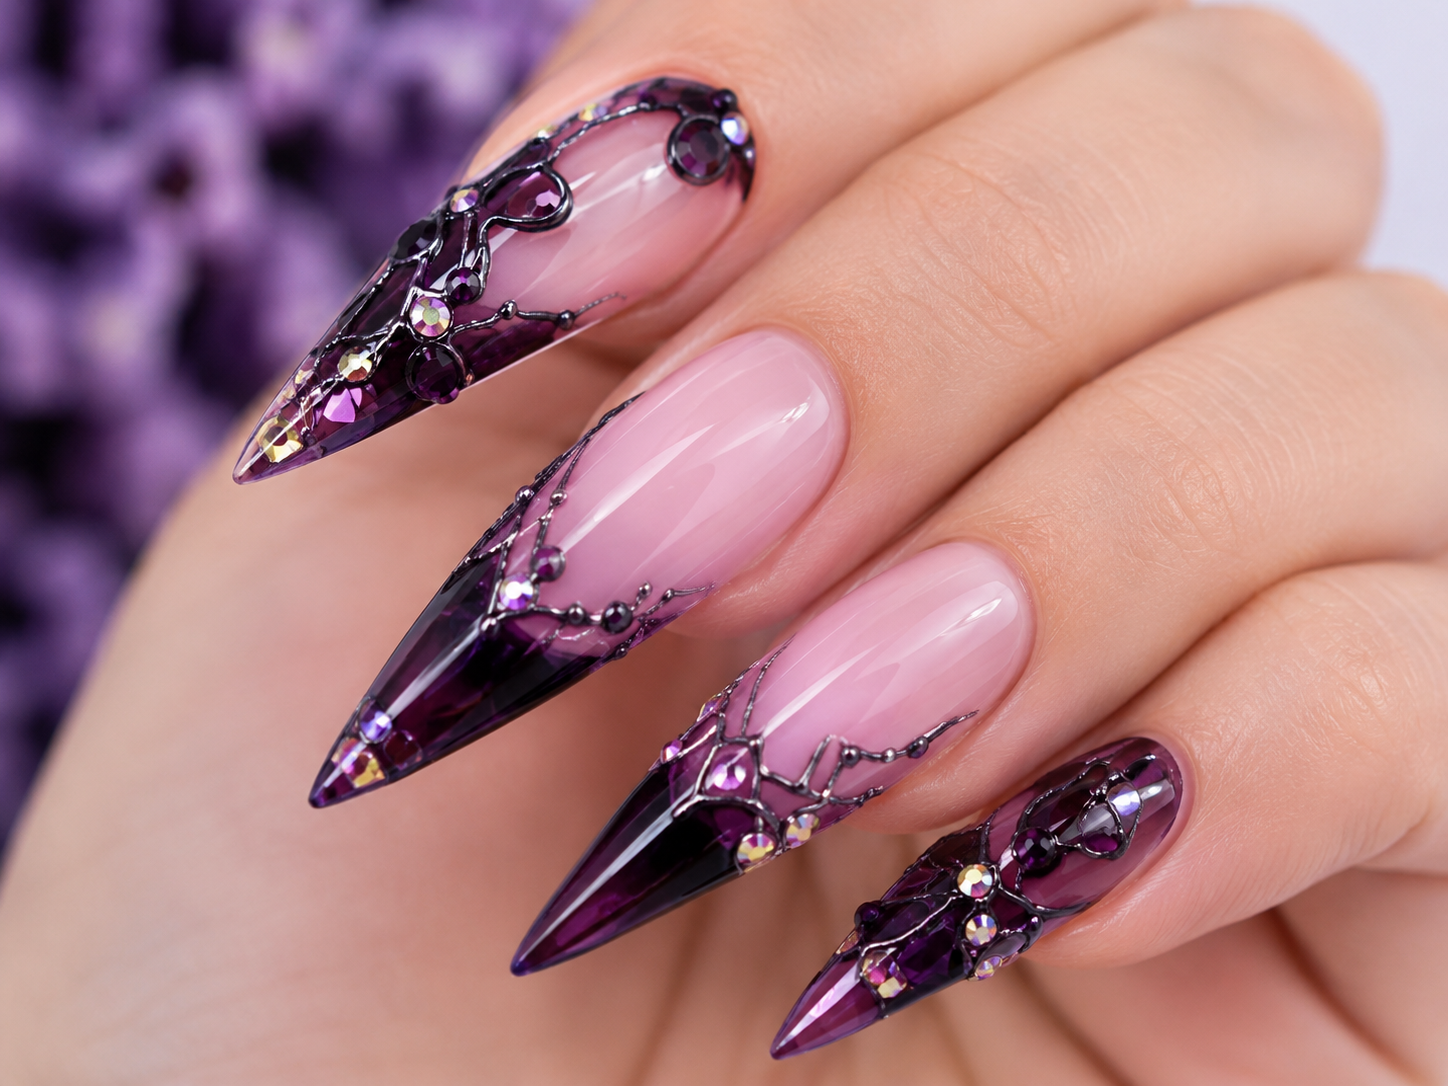
A more dramatic shape for bolder sets, 3D details and accent looks.
Application
The most common problems come from moisture, creams or incorrect sizing. Go through the steps before application.
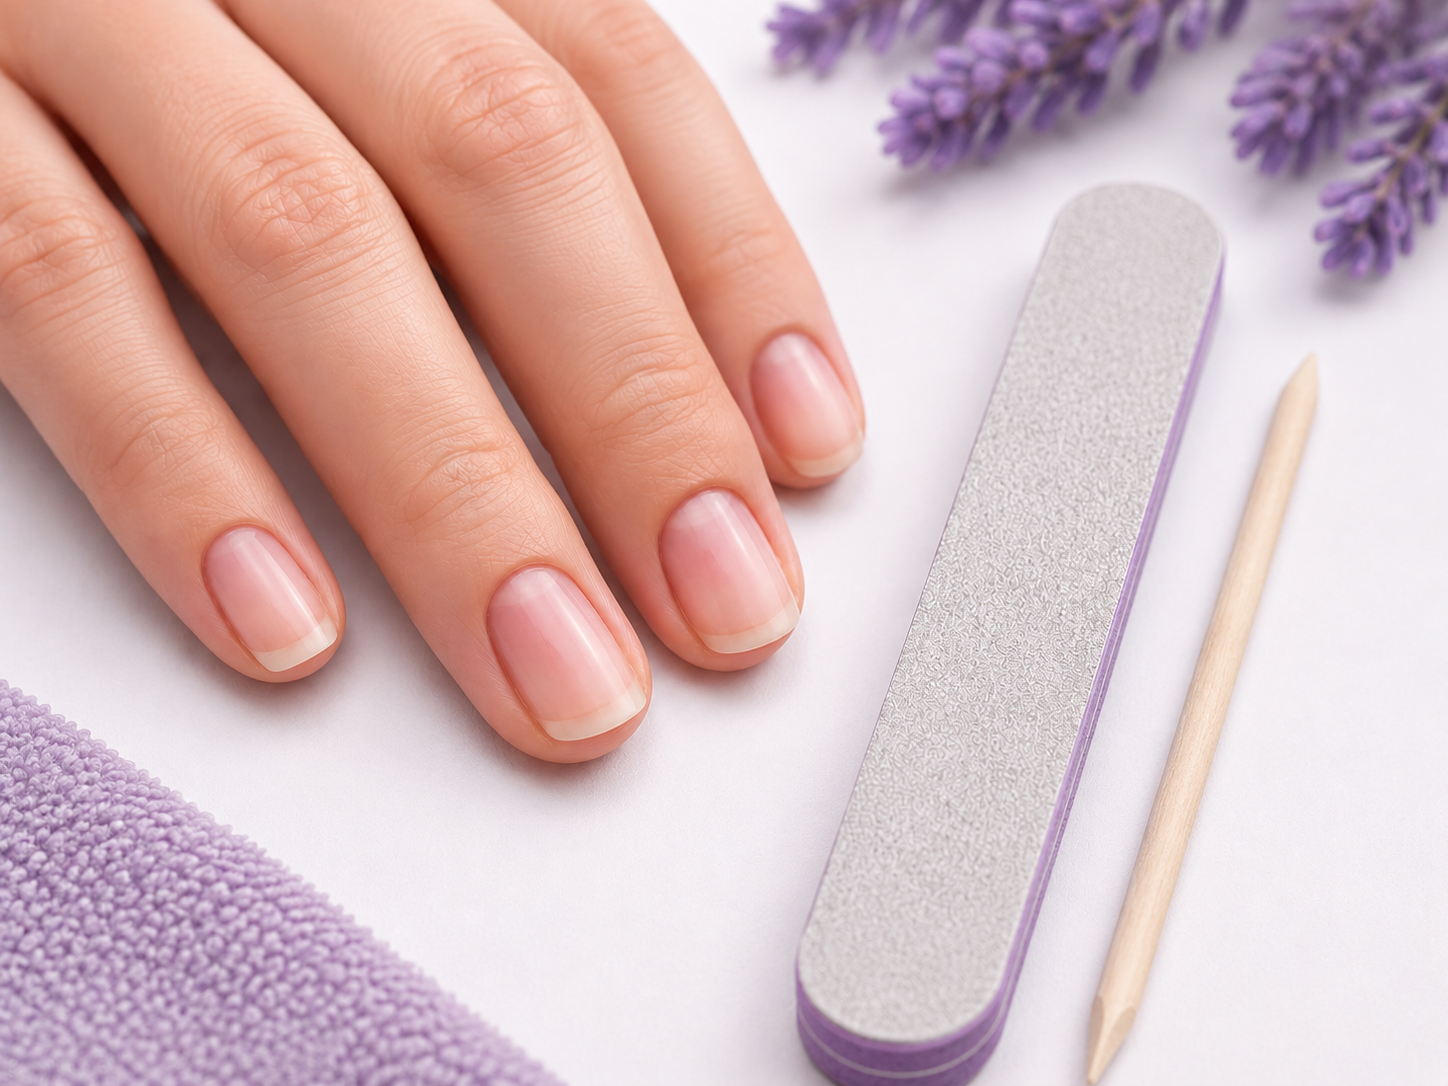

Make sure your natural nails are clean, dry and free from any oils, hand creams or other product residue. Use the buffer file from the kit to gently mattify the surface of the nail, without pressing too aggressively. Then carefully push back the cuticles. If you wish, you can trim any excess cuticle with cuticle scissors or cuticle nippers, but only if you are experienced and can do so without injuring the skin.
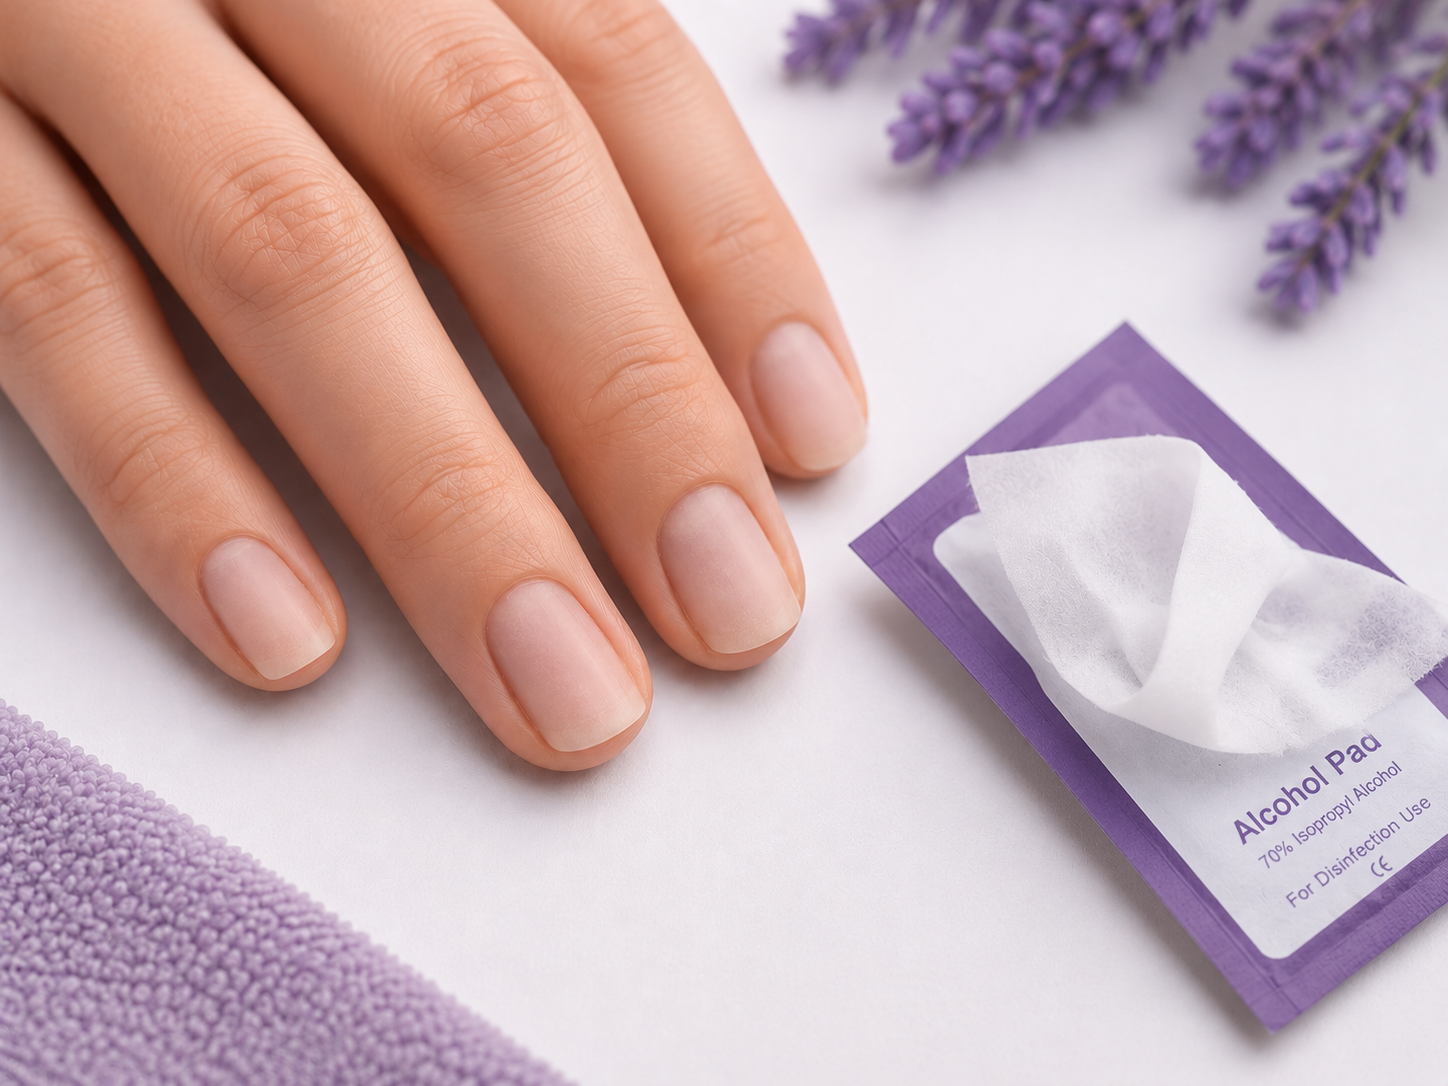
Clean each nail with the alcohol wipe included in the kit. This removes dust, oil and product residue that could reduce wear time. If you wish, you can also use a nail dehydrator or primer. Wait until everything is completely dry. The nail should look matte, clean and dry before application.
Choose the correct press-on nail size for each finger before you begin. Apply a thin, even layer of glue to your natural nail and a small amount to the inside of the press-on nail. Do not use too much glue — it should be enough to cover the surface without spilling out at the sides. Place the press-on nail at a slight angle, starting from the cuticle area and gently lowering it toward the tip. Align it carefully, then press firmly for about 20–30 seconds. The pressure should be even, but not painful. With proper preparation and application, this method can last up to several weeks.
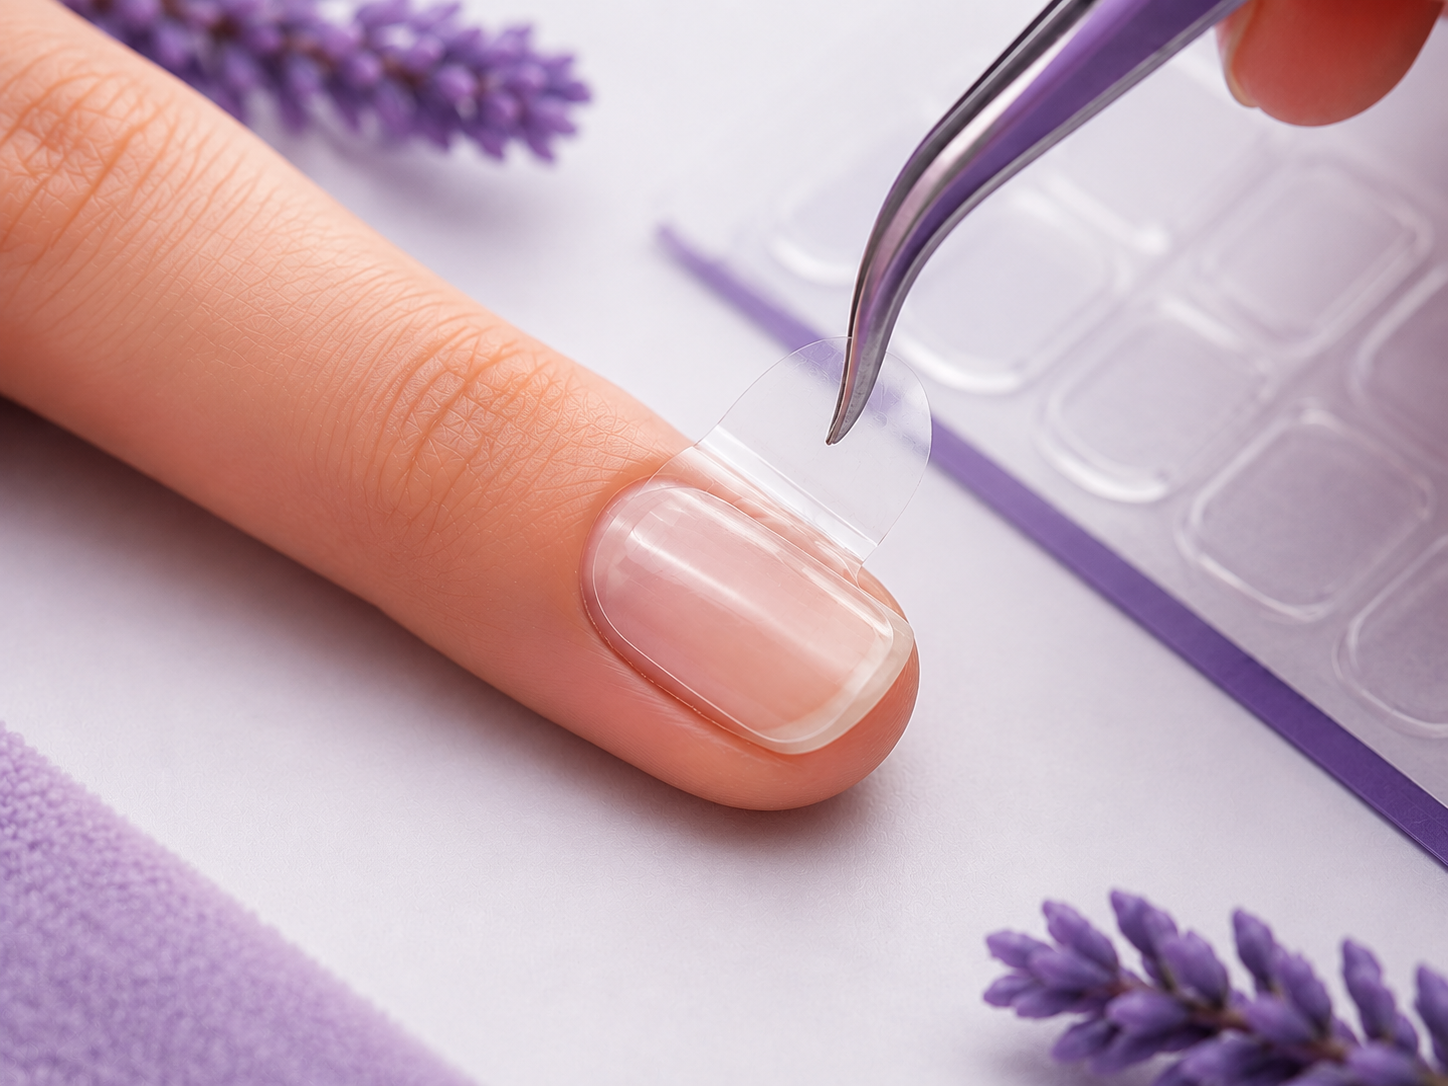
Choose an adhesive tab that best fits your natural nail. Place it on the nail plate and press it down firmly so it adheres smoothly without air bubbles underneath. Remove the protective film without touching the sticky surface. Place the press-on nail from the cuticle area toward the tip, align it carefully and press for 20–30 seconds. This method is suitable for short-term wear — for example, for an event, photoshoot, night out or whenever you want the set to be easier to remove. It usually lasts up to a few days, depending on preparation and daily activity.
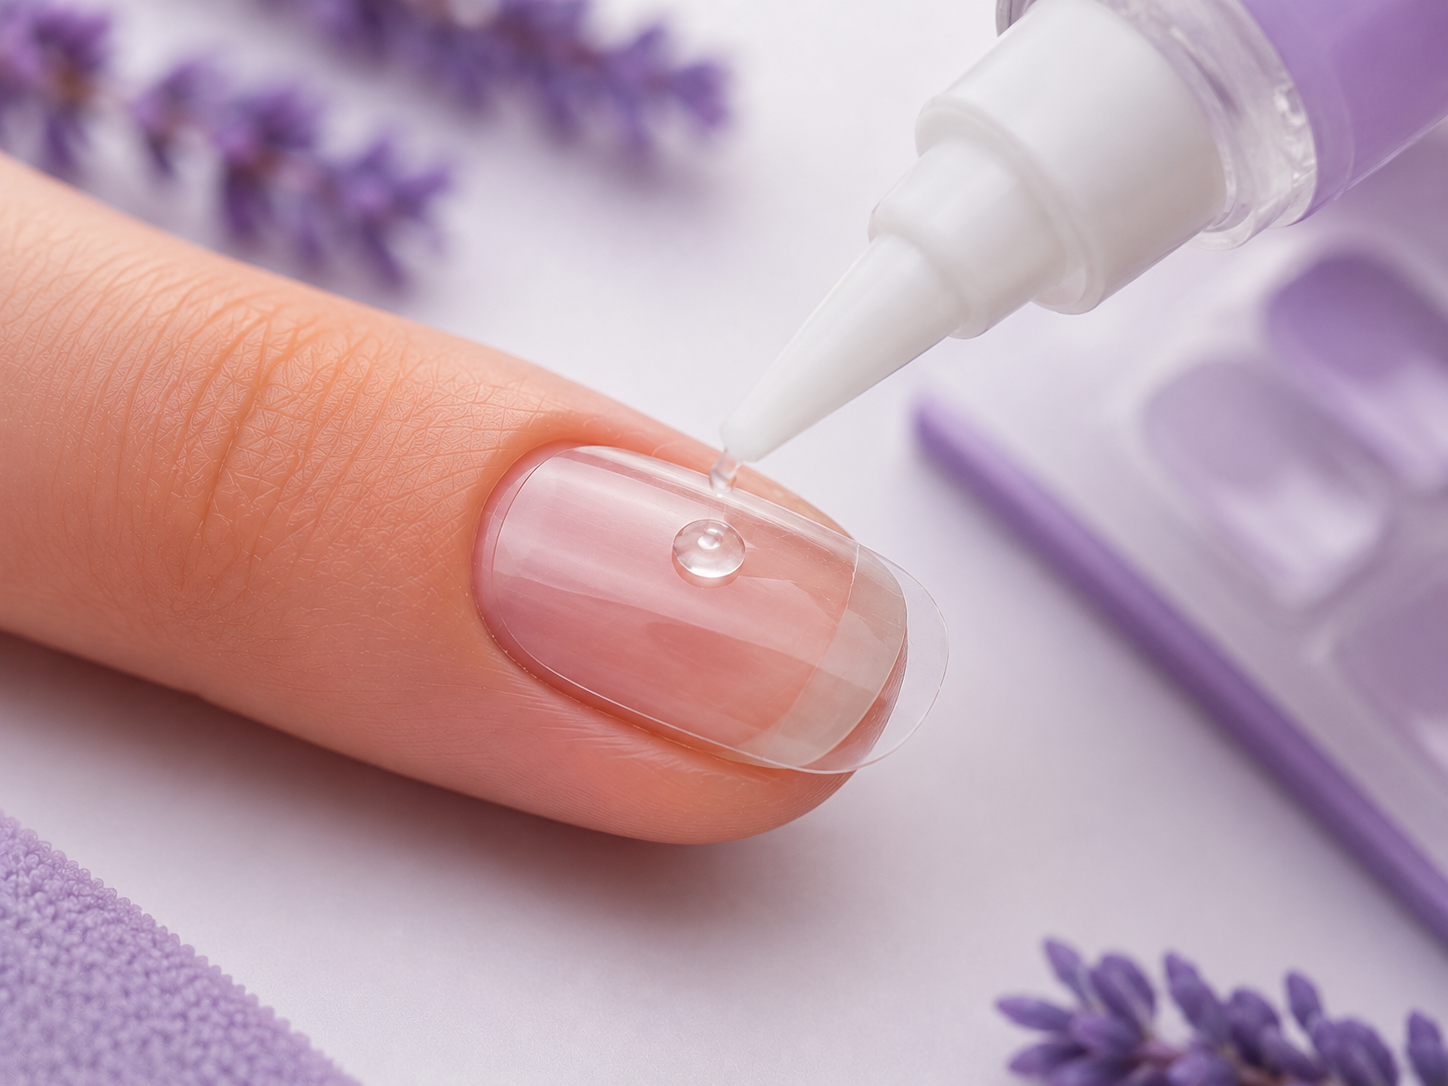
Place the correct adhesive tab on your natural nail and press it down firmly. Then remove the protective film. Add a small amount of glue either on top of the adhesive tab or to the inside of the press-on nail. Do not use too much glue, as it may spill out at the sides when pressure is applied. Place the press-on nail at a slight angle, starting from the cuticle area, and press firmly for 30 seconds. This method creates a very strong hold, but removal may take more time and patience. It is suitable when you want a more secure wear.
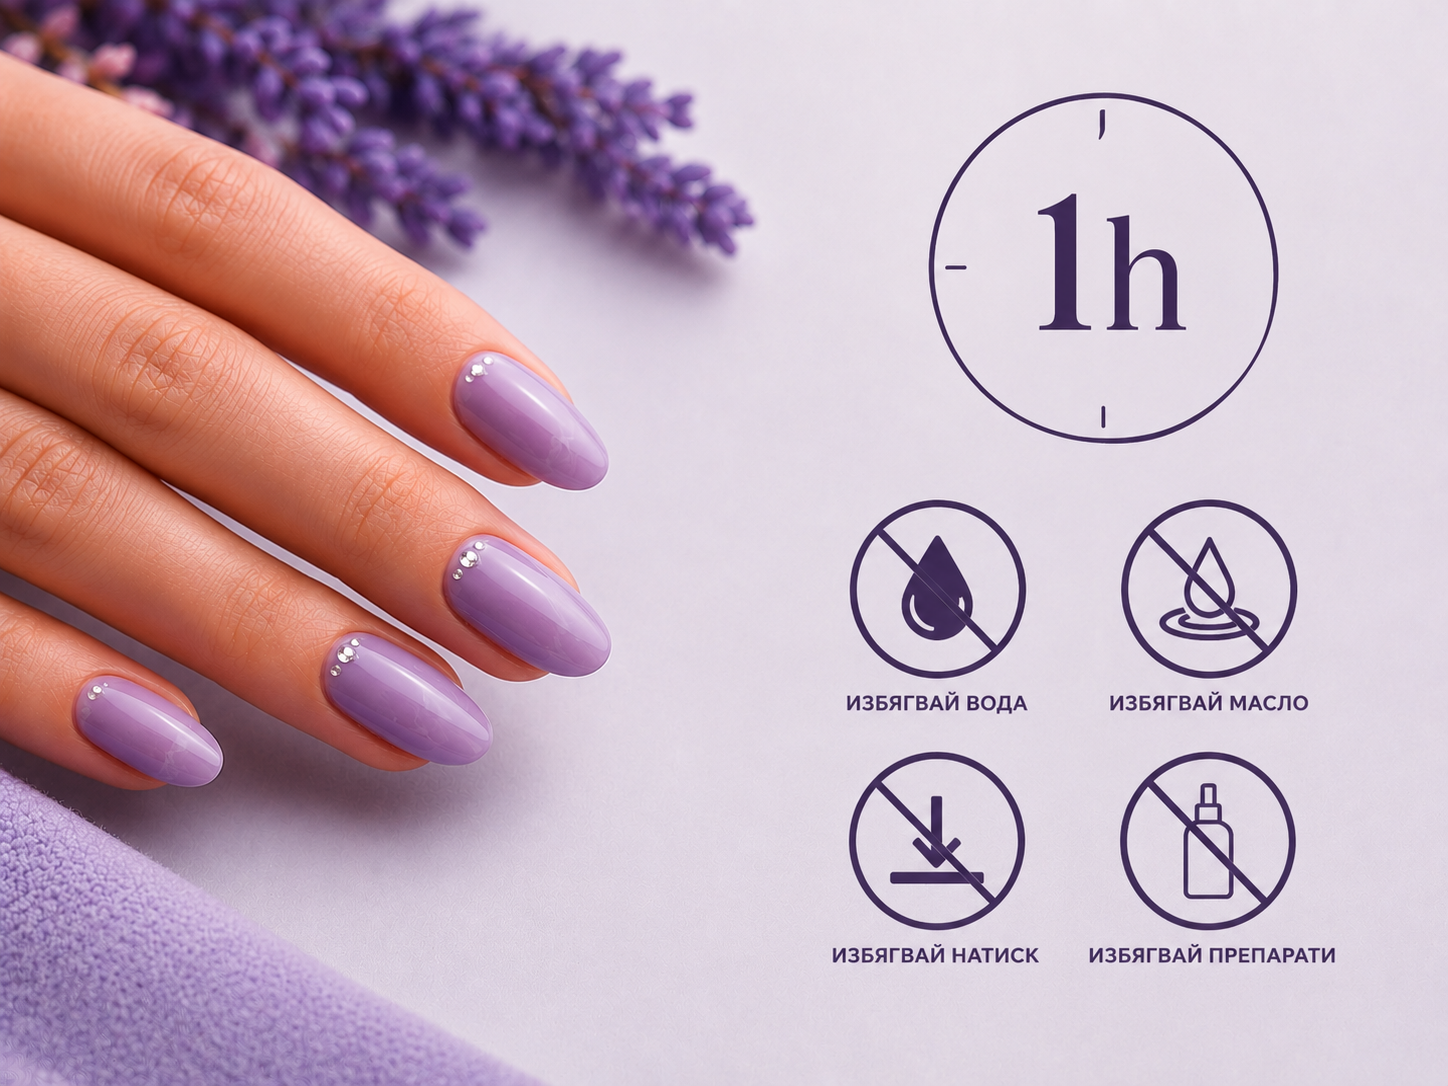
After application, avoid water, strong pressure, oils, creams and cleaning products for at least 1 hour. It is best to apply your nails in the evening before going to bed, so they have time to bond properly without being disturbed. This helps reduce the risk of shifting, lifting or weakening the hold.
Removal
Do not peel forcefully. The goal is to soften the glue or adhesive tab before lifting the set.
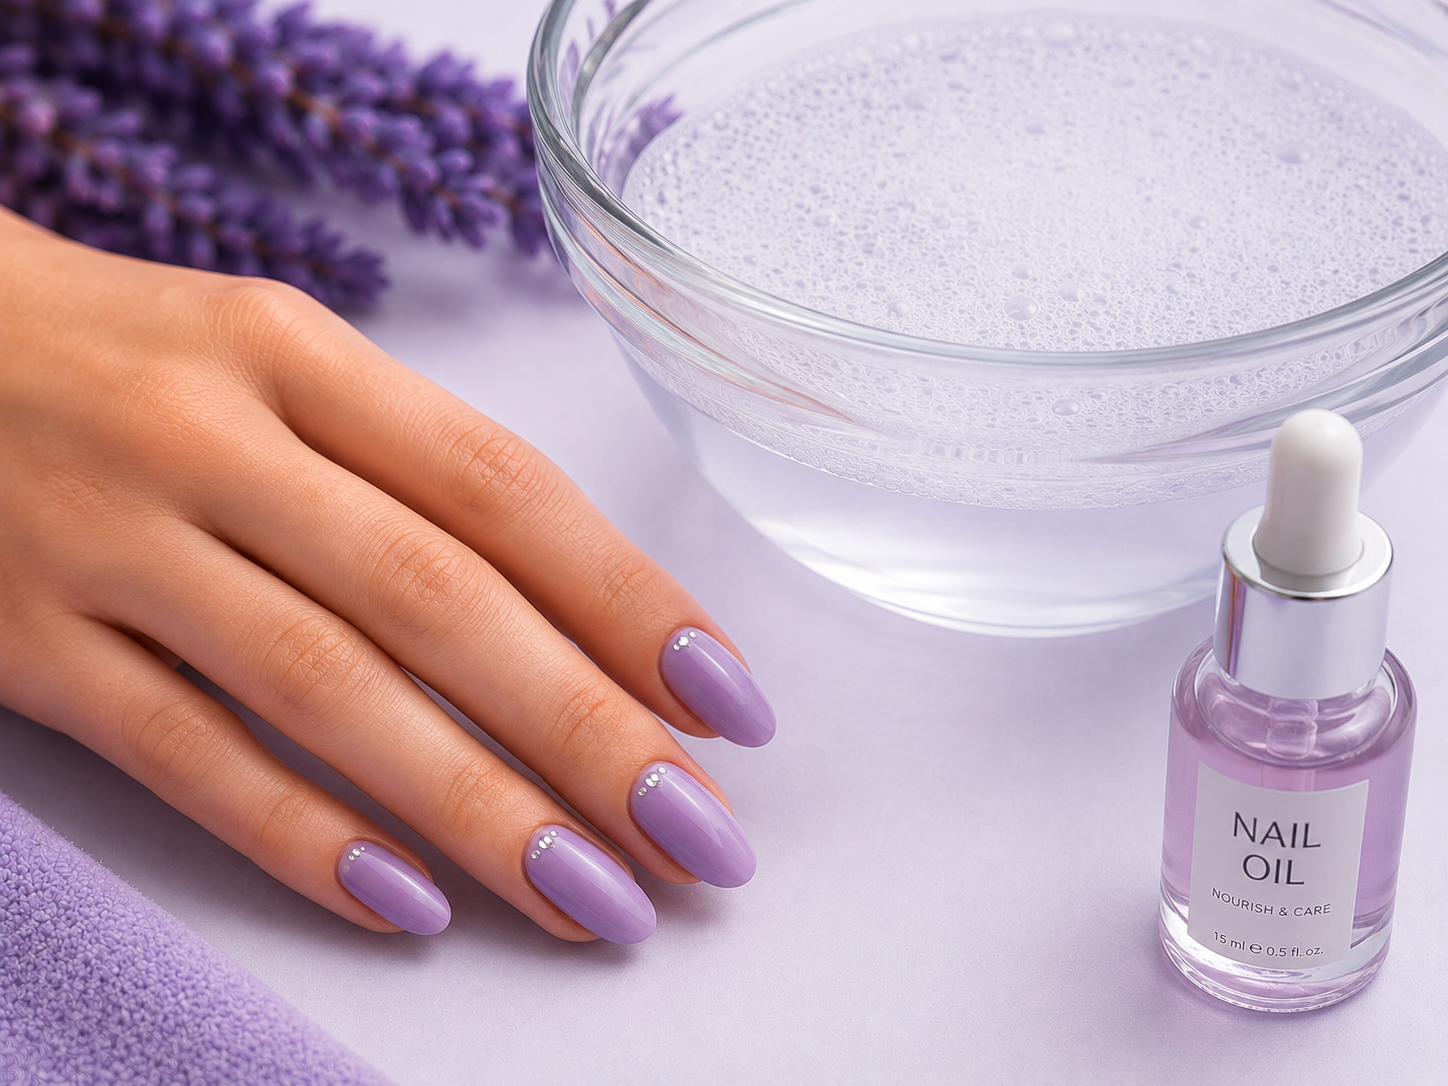
Removal should be gentle and patient. Do not pull the press-on nails off by force, as this can damage both your natural nail and the press-on set. Fill a bowl with warm, but not hot, water. Add a little soap and a few drops of oil or cuticle oil.
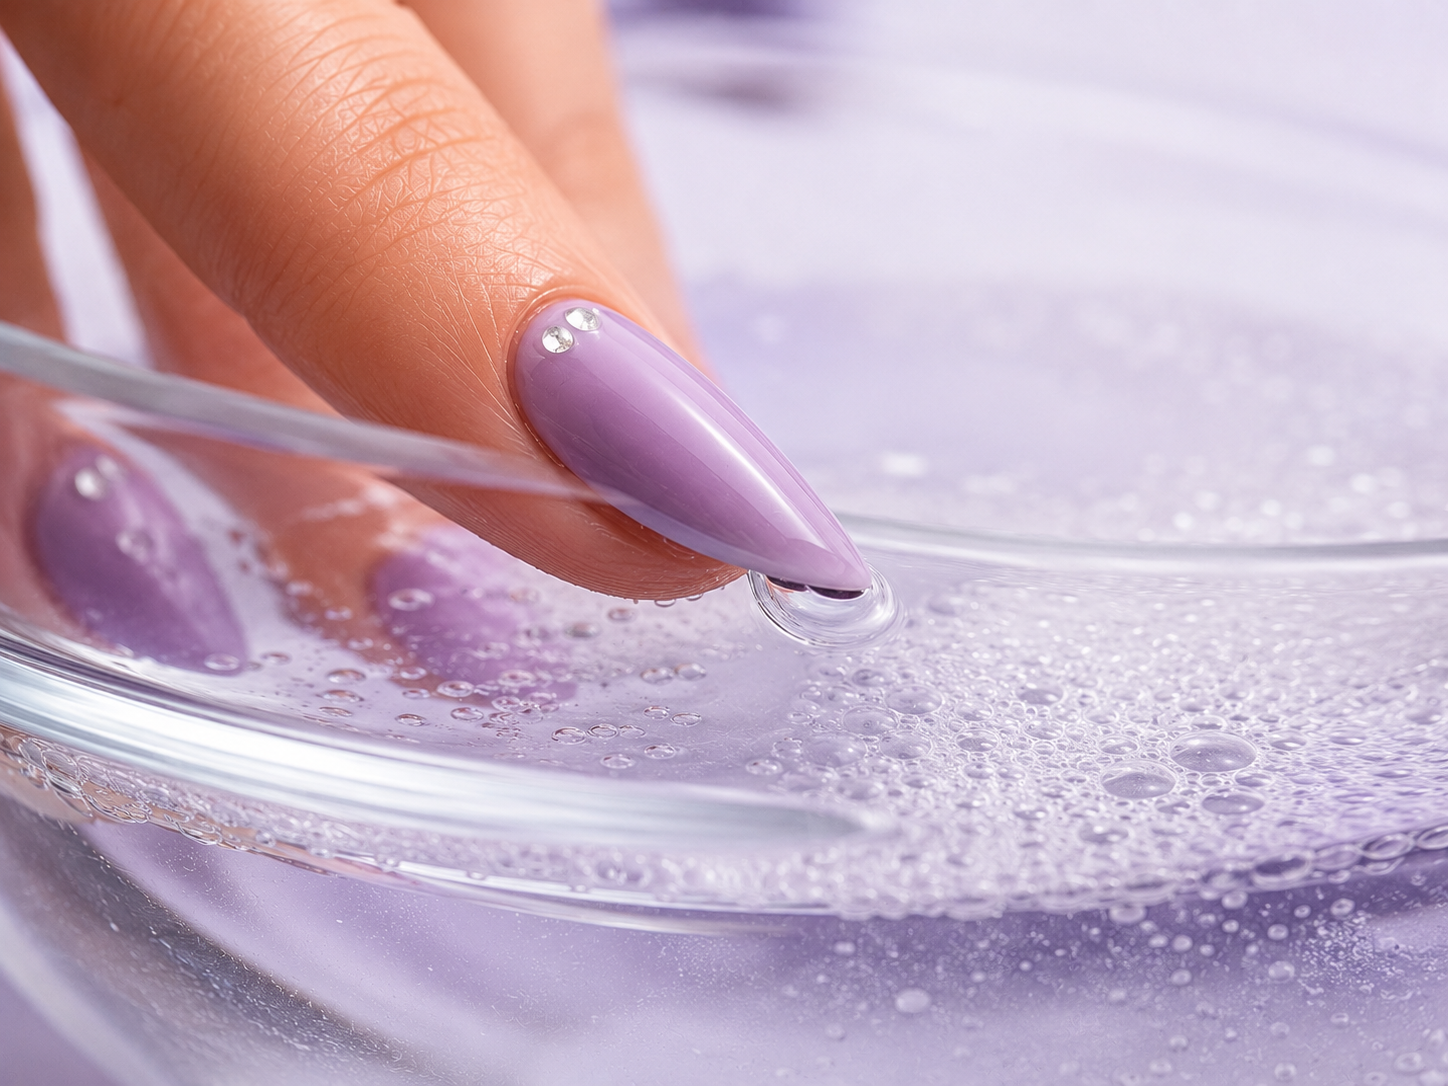
Soak your hands for 10–15 minutes. While your nails are under water, you can very gently wiggle or lift them to help the mixture reach the glue or adhesive tab underneath. Do not force them. If needed, you can lightly press the nail tips against the bottom of the bowl to help the water get underneath.
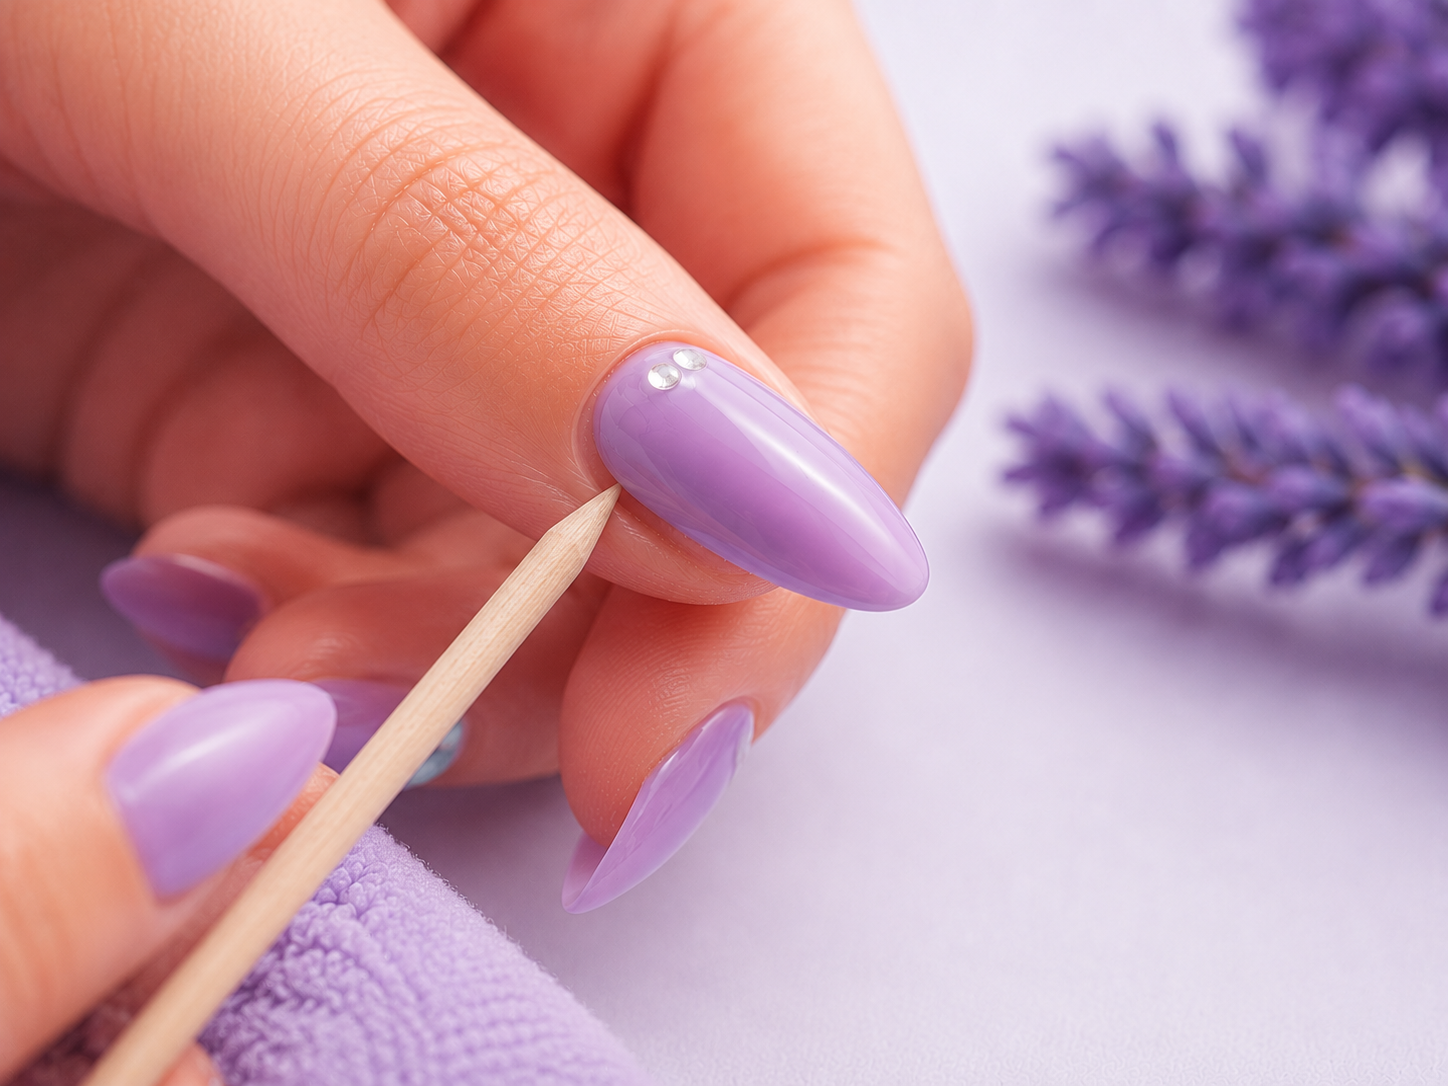
After soaking, carefully try to lift the nail from the side using the cuticle pusher included in the kit. If it comes off easily, continue slowly. If you feel resistance, do not pull — place your hand back in the water for a few more minutes. If you want to reuse the set, avoid acetone. Acetone can damage the design, shine, glued decorations or finish of the press-on nails.
Care
Small habits that help your press-on set look better and stay in good condition longer.
The first hours are the most important for a secure hold. Avoid long water exposure, oils and creams around the nails immediately after application.
Acetone, aggressive cleaning products and strong rubbing can damage the shine, decorations and 3D elements.
When washing dishes, cleaning or working with detergents, use gloves. This helps the set keep its look longer.
If the set is suitable for reuse, clean any glue residue and place it back in its box, away from moisture, dust and strong heat.